You have practiced using the Official TQ tutorial. You have scoured the net for resources.
However, you are still stuck. Here is a four part tutorial to get you going on the basics for creating your own mod from scratch.
1: Creating a New Mod
2: Adding Respawn Shrines
3: Customizing Objects
4: NPC's, Quests, and Dialogue
A New Mod From Scratch[]
Make a new mod[]
- Open the Art Manager
- At the top menu select Mod - New...
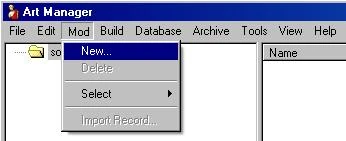
- In the box new mod name enter A1 and click ok.
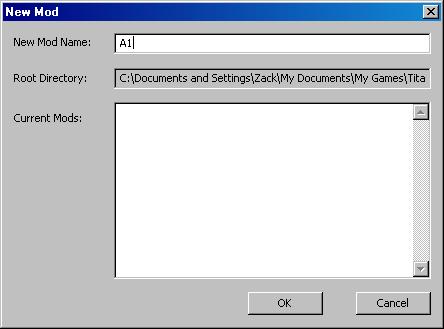
- Press F7 to build or select build from the menu. Now you have created a new mod called A1 to create a world.
- Close the Art Manager and open the World Editor. The editor should prompt you to select your mod and open or create a world.
Make a new world[]
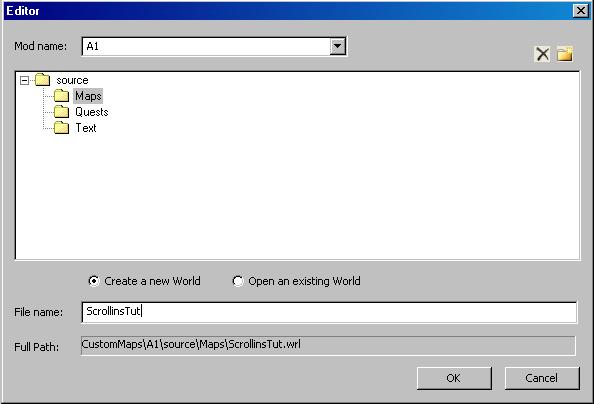
- Select A1 from the mod name menu.
- Select the maps folder under source - maps.
- Select create a new world and enter a name of ScrollinsTut and select ok
Right now we dont have any regions in our world so lets make a new one to get started.
Make a new region[]
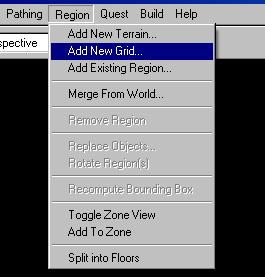
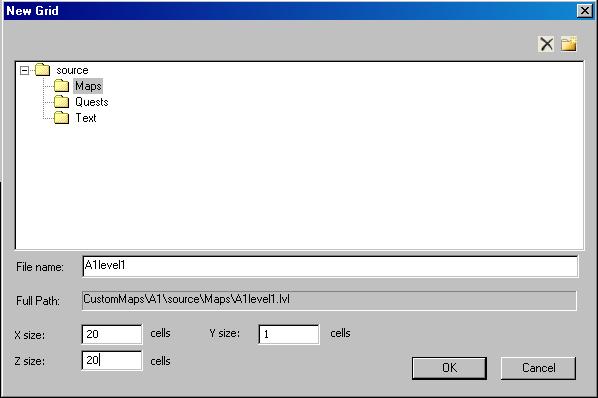
- At the top select Region - Add New Grid.

- Highlight the maps folder in source - maps enter a name of A1level1 and change the x and z size to 20 and select ok.
- On the layout tab select your new region and click the edit region button at the top.
Once in edit mode, your screen will be blank and black.
Making floors and walls[]
- Select the grid editor tool .
With the grid editor selected you are able to see the grid.
Use your mouse wheel to zoom in and out and your right mouse button to move around.
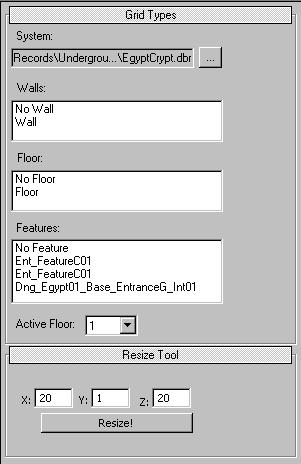
- To the right you will see your grid editing tools
- System allows you to choose what type of art to use for floor , walls and features.
- Walls makes and destroys walls.
- Floors makes and destroys floors.
- Features adds the selected feature or destroys the feature if "No Feature" is selected. Features are mainly for making entrances and staircases in your grids.
- Resize allows you to resize the grid to a max of 64x x 64z.
- To paint a floor or wall or feature select the tool and either left click a grid or left click and drag across the grids.
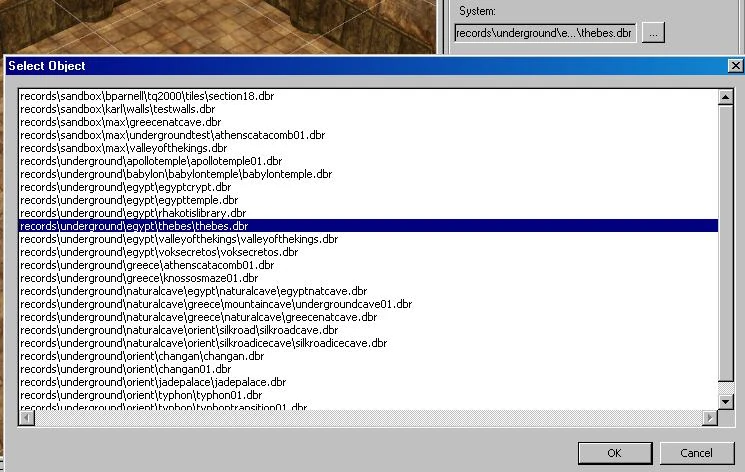
- Under System click the open file box and browse the list of textures and select thebes.dbr
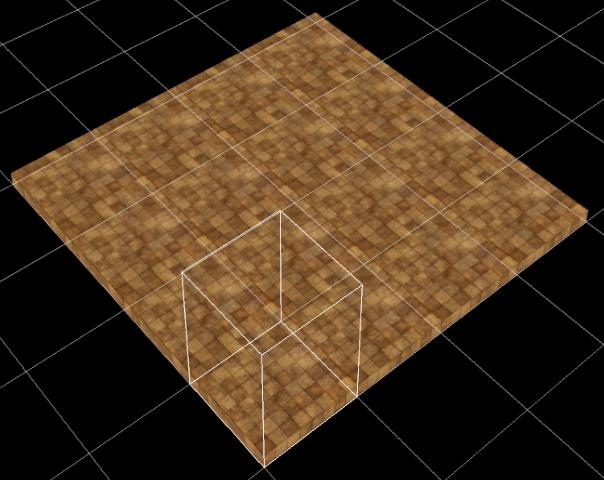
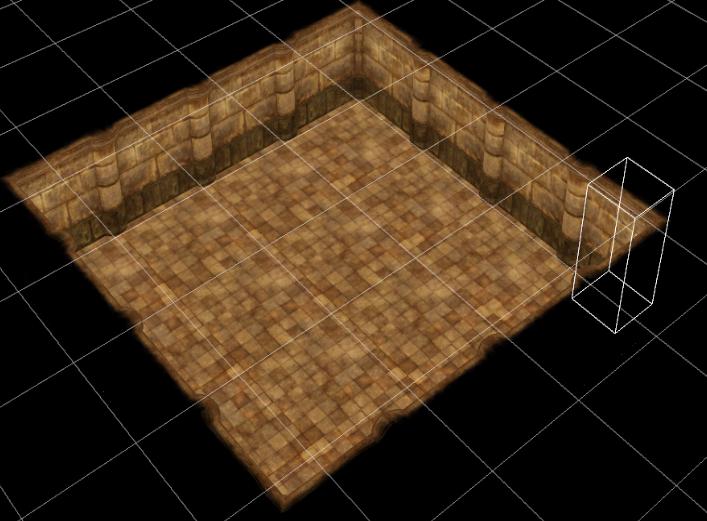
- Select Floor from the grid tool menu and paint floor for a 4x4 room.
- Select Wall from the grid tool menu and paint walls to close the room off with walls.
Adding a starting point[]
Now that we have a space to work in lets place a startpoint so we can compile the map and test play it.
- Select the object tool .
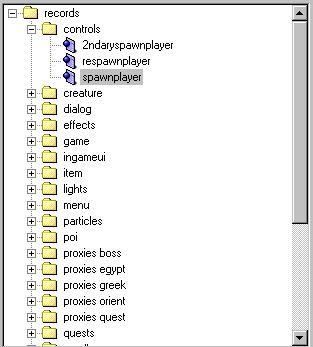
- To the right you will see a folder titled records, expand this folder to records - controls and select the spawnplayer object.
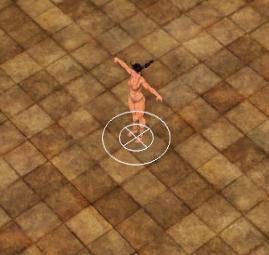
- With the spawnplayer object selected left click in the center of the room you made.
The character that appears is just a refrence this is where your character will show up in the game when you load it for the first time.
This region is also now playable so lets compile it and test it out ingame.
Compile the map[]
- We need to compile with the editor.
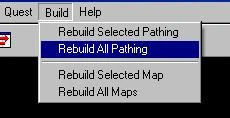
- Select the Layout Tab near the bottom and then from the menu at the top select build - rebuild all pathing.
- Once that is done select build - rebuild all maps.
- Save all under file - save all and close the editor.
- Create an asset for our map.
- Open the Art Manager use the menu to select mod- select- A1.
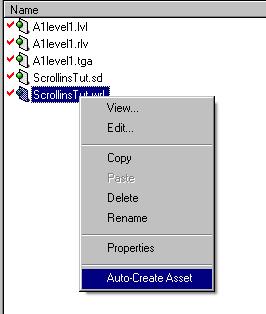
- In the Sources tab look in the "sources - maps" folder.
- Right click ScrollinsTut.wrl and select auto create asset
- Click ok on the prompt.
- Finaly we compile everything into a playable map.
- At the top menu select build - build or press F7.
- Load up Titan Quest
- Select play custom map and test play ScrollinsTut.map
Next[]
Next up is how to add custom objects (respawn shrines) into your mod.