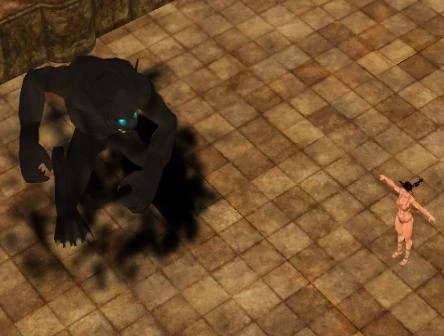
After completing the second tutorial, you should have a working rebirth shrine, but no monster to kill you in order to test if it works. After completing this tutorial, you should have a working custom monster to complete that task.
Modifying a Monster[]
Importing Record[]
- Open Art Manager and select mod A1.
- Select Mod-Import Record and go to records-creature-monster-shadowstalker-um_shadowstalker_24.dbr
- Click ok
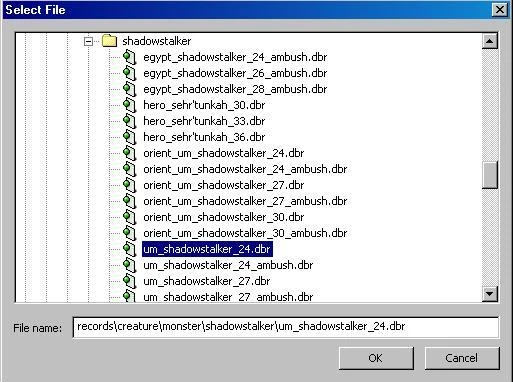
- Click the Database tab and find this record.
- Right click and rename it to Simon.dbr
- Copy and paste it to the directory records-A1ScrollinsTut.
- Finaly delete the old record if you want.
Changing the Record[]
- Double click the monsters record. The Editing Record menu will come up.
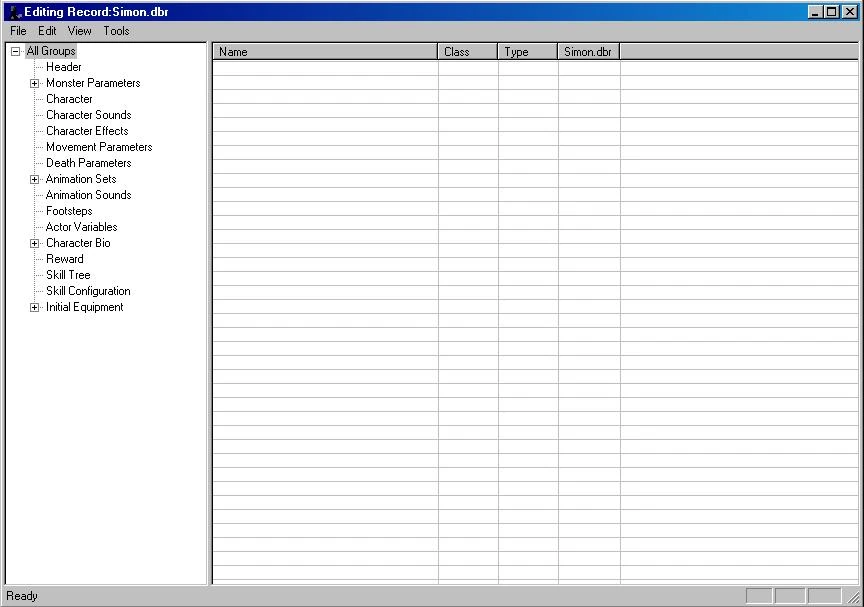
From this menu you can change everything about this monster. - Click the word Header on the left.

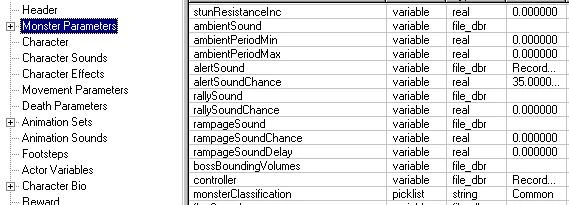
The most important thing here and possibly the only important thing here is the Class. - Click Monster Parameters on the left.

The two important ones here are controller and monsterClassification. The controller is also a object that is importable but for now lets just stick with this object. If you want to edit something click the monsterClassification field and change it around. - Click Character from the left
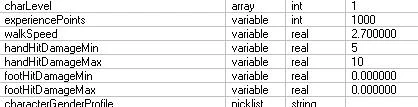
Here we can change alot of things but its best to only change what you know you need to. If you go changing everything then it might not work right in game. To change something double click the field and enter a new number or word. - Change the following fields to match.
- charLevel 1
- experiencePoints 1000
- handHitDamageMin 5
- handHitDamageMax 10
- Find and select Character Bio from the left.
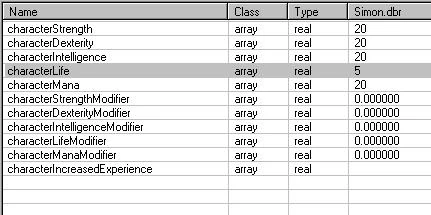
- Expand Character Parameters and select Character Bonus Attributes.
- Change the following.
- characterStrength 20
- characterDexterity 20
- characterIntelligence 20
- characterLife 5
- characterMana 20
- Before we build and place our monster lets change its Actor Variables.
- Select Actor Variables from the left and change the following.
- description tagmycustommonster01
- scale 3.0
- Select File Save and close the Editing screen.
- Right click the top folder in your database and select build.


Modifying Name[]
In order for its custom name to show up we need to add that tag to our ModStrings.txt
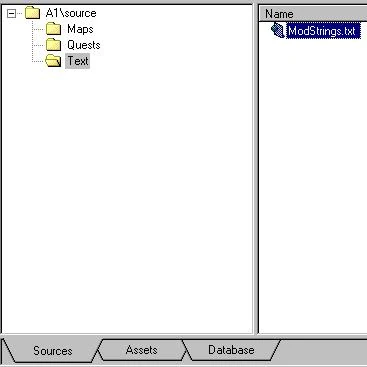
- In the Art Manager, select the Sources tab
- Expand the folders to source-Text-ModStrings.txt
- Double click ModStrings.txt to edit it
- Add tagmycustommonster01=Simon
- Save and close the file.
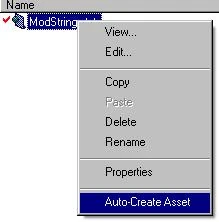
- Right click ModStrings.txt
- Select Auto Create Assets.
- Select Build-Build to build everything you edited.
- Close the Art Manager
Placing the Monster[]
- Open the World Editor
- select your mod A1: Mod - Select - A1.
- Select the region and swith to editor mode
- Find your custom shadowstalker object
- Place it in your level.
- Save all and close the editor.
Building and Testing[]
- Open the Art Manager and select mod A1
- Select build-build your
- Close the Art Manager and test the mod in-game
(Note he might spawn with a life leach weapon this is editable under Initial Equipment)
Other Info[]
There are many other fields to edit for objects this is just a simple example of how to edit some of its base stats.
Using this technique of importing items then moving them and renaming them and editing them you can create any type of custom objects including items, skills, creatures, quest objects.
Next[]
In the last and final tutorial, we will explore NPC's, quests, and dialogues.